
Starting with WordPress can feel a bit confusing at first, especially when faced with the WordPress Admin Dashboard for the very first time.
But once you understand how it works, it becomes a simple and powerful tool to manage your website. Let’s learn in detail, how to use the WordPress admin dashboard.
This beginner’s guide will walk through each part of the WordPress Admin Dashboard, explain what everything does, and help make things easier as you build and grow your site.
Whether you’re creating a blog, a business site, or an online store, this guide will help you feel confident using the dashboard and making the most out of WordPress.
Disclosure: This post contains affiliate links, so if you make a purchase, I’ll earn a commission at no extra cost to you.

Ready to Start Blogging?
You might be closer to starting your blog than you think; let’s take that first step together.
How to Access the WordPress Admin Dashboard
If you’re new to WordPress, understanding how to access the admin dashboard is the very first step toward building your website.
When I first set up my site, I remember how exciting it was to log in and see all the tools WordPress had to offer. It felt like opening the control panel of something powerful—and it really is.
With self-hosted WordPress (WordPress.org), you have full control. You get to decide how your site looks, what features it has, and how it functions. This freedom is what makes WordPress such a popular platform for building websites, blogs, online stores, and more.
The WordPress admin dashboard is your main control center. From here, you can create pages and blog posts, manage your theme, install plugins, tweak settings, and so much more. It’s where everything starts and everything is managed.
To get to your dashboard, all you need to do is open your web browser and type this into the address bar:
www.yourdomain.com/wp-admin
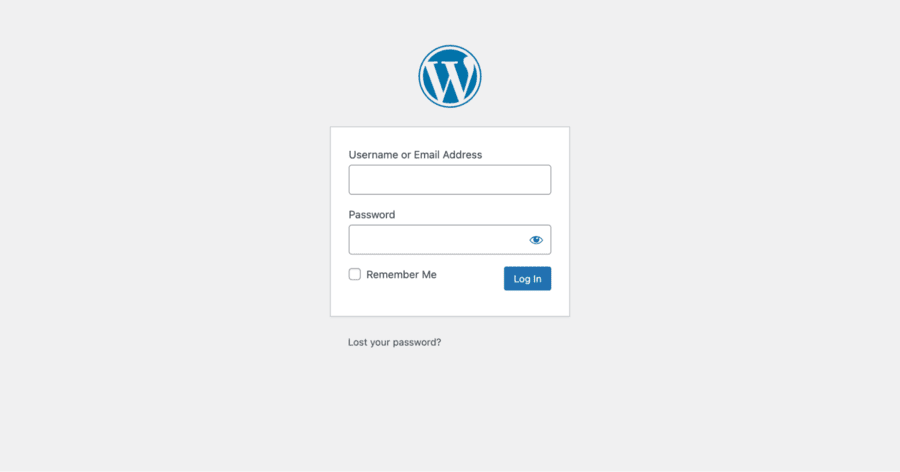
Once you enter that, you’ll land on the WordPress login screen. Just enter your username and password, and you’ll be taken straight to your dashboard.
If you’re using a hosting provider like Hostinger, it’s even simpler.
Just log into your Hostinger account, go to the “My Sites” section, and click “Log in to WordPress”. No need to enter your login credentials again, Bluehost handles that for you.
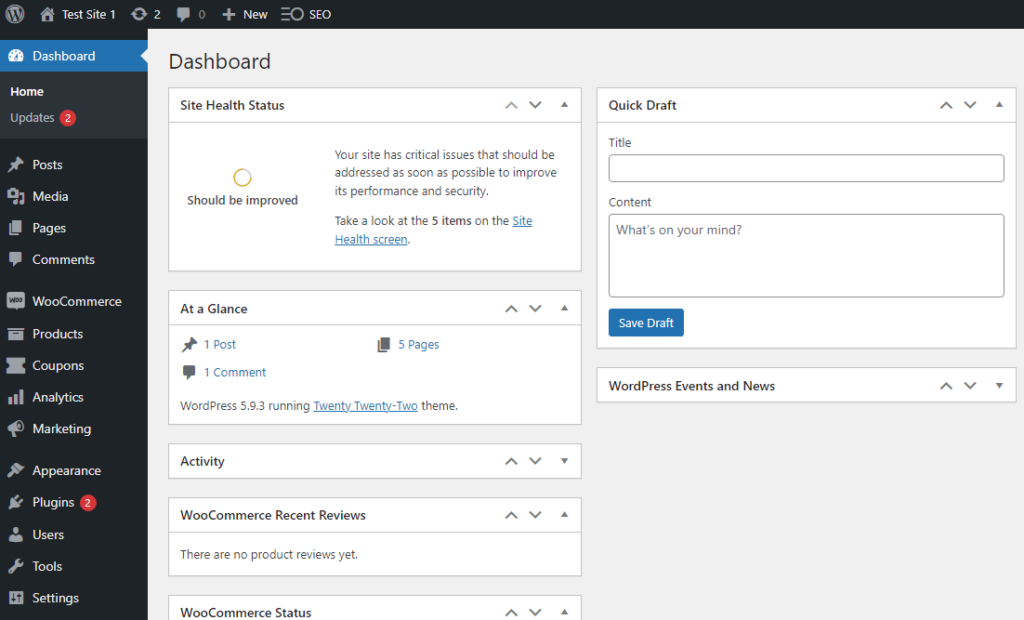
Once you’re in, you’ll see the WordPress dashboard. It’s neatly divided into sections on the left-hand sidebar, Posts, Pages, Media, Appearance, Plugins, Settings, and more. It might look like a lot at first, but everything is organized, and you’ll get used to it quickly.
There’s also a handy “Screen Options” tab at the top right corner of your dashboard. Clicking this allows you to customize what panels you want to see on your main screen. I found this especially useful because I like keeping only the essentials visible for a cleaner workspace.
Keep in mind, that the dashboard may look a little different depending on which theme or plugins you have installed. Some extra options may appear, which is completely normal.
So, take a deep breath and explore each section one at a time. By the end of this guide, everything will feel much more familiar.
Let’s keep going.
1. Posts
When I first started using WordPress, the “Posts” section was one of the first places I explored. This is where you’ll spend a lot of your time if you’re planning to run a blog or publish regular updates on your site.
To get started, look at the left-hand menu in your dashboard and click on “Posts.”
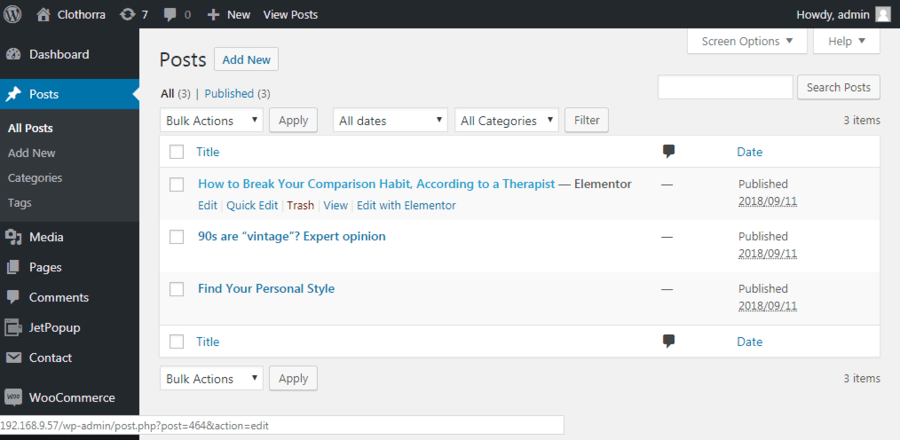
This will open a page where you can see a list of all your blog posts. If you’re brand new, you’ll probably just see a default post titled “Hello World!”, it’s just a placeholder that WordPress adds for you.
To create your own post, simply click the “Add New” button at the top. This takes you to the WordPress editor, where you can write your post from scratch.
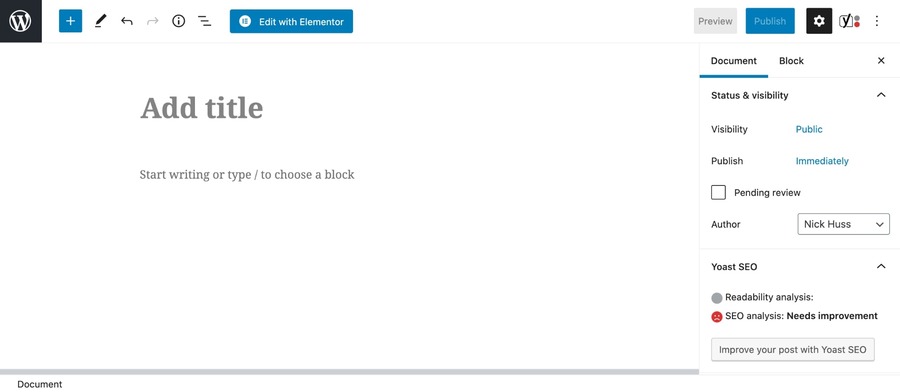
At the top, you’ll see a space to enter your post title. That’s where you write the name or headline of your blog post. Right below that is the main content area, the space where you’ll write everything you want to share in the post.
The editor is pretty flexible, allowing you to add text, images, videos, headings, and more using blocks. It took me a few tries to get used to the block system, but once I got the hang of it, writing posts became smooth and enjoyable.
On the right-hand side of the editor, you’ll see options like Categories and Tags. These help keep your content organized.
For example, if you’re writing about different topics, you can create a category for each one. Tags are more like specific keywords that describe what your post is about.
After you’re done writing, formatting, and organizing your post, you’ll see a big “Publish” button on the right. Click that when you’re ready to make your post live for the world to see.
2. Media
The Media section in the WordPress dashboard is where all the uploaded images, videos, documents, and other files are stored. To access it, simply click on “Media” from the left-hand menu, and you’ll be taken to the Media Library.
The Media Library is like a central storage space for all the files added to your website. Whether it’s a blog post image or a PDF you uploaded for download, everything is saved here.
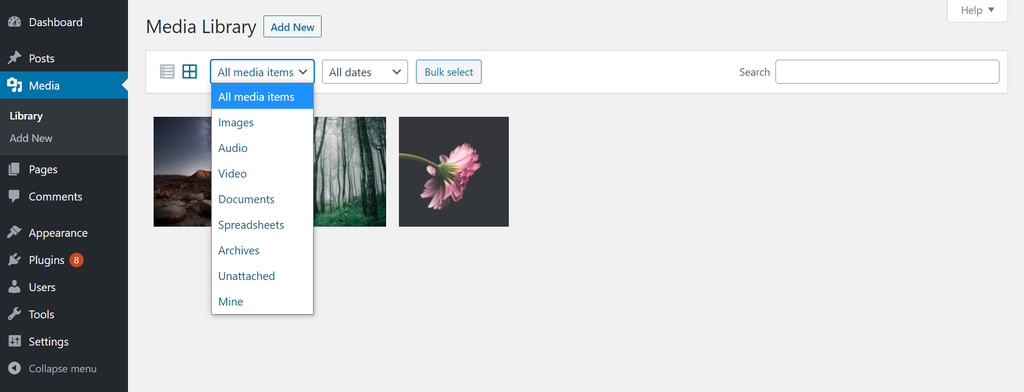
Each file appears as a thumbnail in a grid view, making it easy to browse through. There’s also a search bar at the top, which comes in handy when looking for specific files, especially once the library grows with more content over time.
You can click on any file to open a detailed view. From there, it’s possible to see the file info, change the title or alt text, and even copy the URL to use the media elsewhere on your site.
To add a new file, click the “Add New” button at the top of the Media page. You can drag and drop files or click to upload from your device. WordPress supports a variety of file types including JPG, PNG, MP4, PDF, DOCX, and more.
The Media section is simple to use, and after a few uploads, it becomes second nature to manage files and keep your site organized.
3. Pages
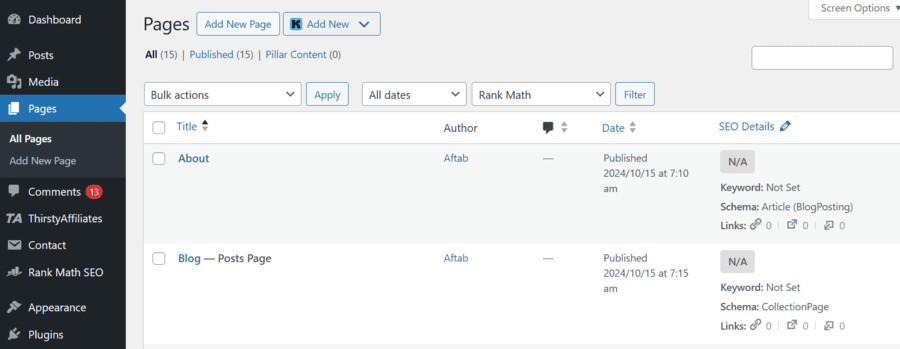
The Pages section in WordPress can be accessed from the left-hand menu by clicking on “Pages”. This is where all the static pages on a website are created and managed.
Pages and posts may look similar at first, but they serve different purposes. Posts are typically used for blog entries or regularly updated content, while pages are meant for timeless information that doesn’t change often.
Examples of pages include your About page, Contact page, Privacy Policy, or Services page. These are essential parts of any website and give visitors clear, structured information.
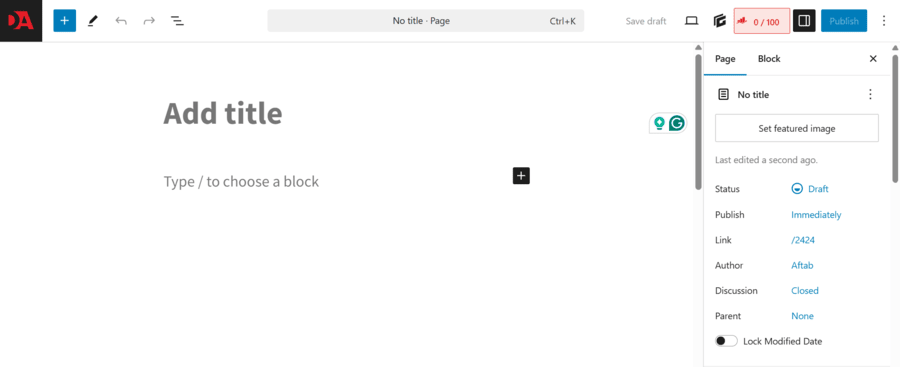
When creating a new page, just click the “Add New” button. This opens up the page editor, which is similar to the post editor. A title goes at the top, and the content is added just below using blocks like text, images, or buttons.
For those who want to design more visually appealing pages, using a page builder plugin like Elementor makes the process much easier. It’s a simple drag-and-drop tool that lets you create custom page layouts without writing any code.
I’ve used it several times, and it’s great for beginners who want a professional-looking design without needing a web design background.
Overall, the Pages section is where most of your site’s key content will live. Once you get used to the editor and layout tools, building new pages becomes quick and enjoyable.
4. Comments
You’ll find the Comments section in the left sidebar of your WordPress dashboard. This is where all the feedback from your blog readers shows up.
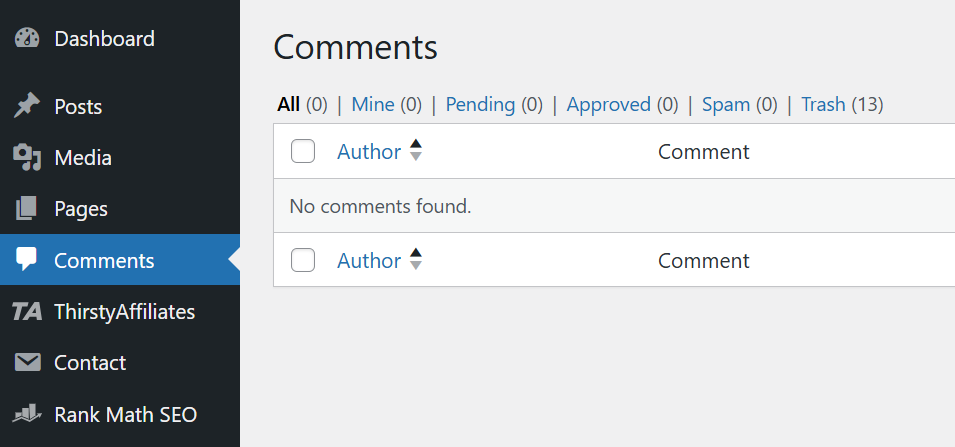
Whenever someone leaves a comment on one of your posts, it appears here for your review. At a glance, you’ll see which comments are approved, pending, or marked as spam.
When I started blogging, checking the comments section became part of my routine. It’s where I could see what readers thought about my posts and engage with them directly.
From this area, you can approve, or unapproved, mark it as spam, trash, or even edit any comment. If you’re running a blog where engagement is important, this section becomes really valuable. I also found it helpful for filtering out spam or irrelevant replies before they show up on my site.
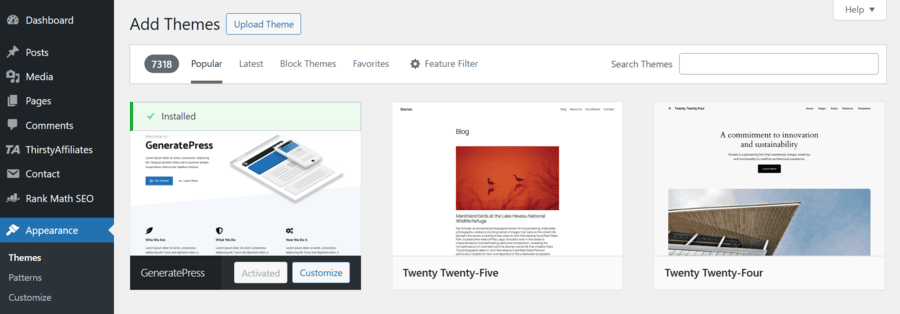
5. Appearance
When I first started using WordPress, one of the first things I explored was the Appearance tab on the left side of the dashboard. This section is where you get to shape the look and feel of your website.
From here, I was able to change fonts, colors, the background, and even the layout of my site. It felt like setting up my own little corner of the internet. I could upload new themes, organize menus, and play around with widgets, with no coding needed.
Here’s a quick look at what you’ll find under Appearance:
- Themes – This is where I picked a theme for my website. It instantly changed the way my whole site looked. There are free and paid themes available, and I tried a few before settling on one I liked.
- Customize – I used this to tweak my theme without touching any code. It let me change colors, add my logo, and adjust the layout with just a few clicks.
- Widgets – Widgets were fun to experiment with. I added a search bar, recent posts section, and even a calendar in the sidebar—all using widgets.
- Menus – I created a custom menu here for my site’s navigation. It helped my visitors find pages like “About,” “Contact,” and “Blog” easily.
- Theme Editor – This one lets you edit the theme’s actual code. I personally avoid using it unless I really know what I’m doing, because one wrong change can mess things up.
Designing my WordPress site took some trial and error, but over time I got more comfortable with it. If you’re new, don’t worry, it’s okay to take it step by step.
Also, if you’d rather not do it yourself, there are plenty of freelancers out there who can design your site professionally.
6. Plugins
Plugins are one of my favorite things about WordPress because they let me add cool functions to my website, without writing any code.
There are thousands of plugins available. Some are completely free, while others are paid. I usually start with free ones and only go for premium plugins if I really need extra features.
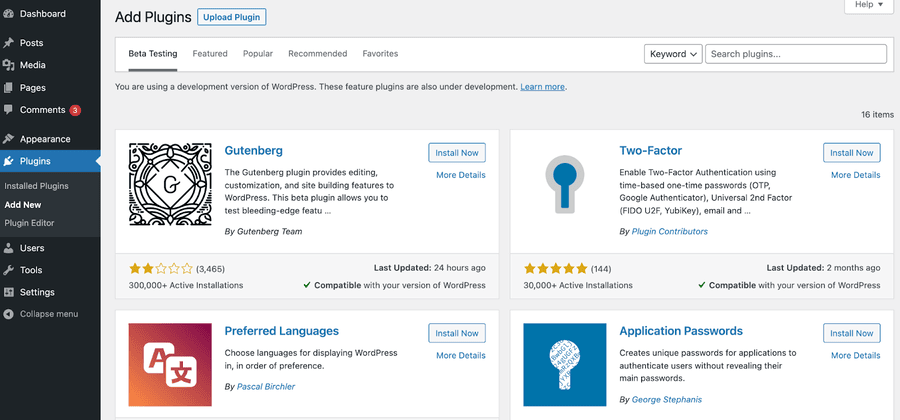
Just go to the “Plugins” tab in the dashboard and then click on “Add New.” From there, I search for what I need, like a contact form, SEO tool, or image optimizer. The plugin directory shows tons of options, and I always check the ratings and reviews before picking one.
Once I find a plugin that looks promising, I click “Install Now” and then “Activate.” That’s it. The plugin becomes part of my website right away.
But I’ve also learned to be careful. Not all plugins are safe or well-maintained, so I try to stick with plugins that are popular, have good reviews, and are regularly updated.
Over time, I’ve tested a bunch of plugins and found a few that I always come back to because they just work. I’ll be sharing my personal list of recommended plugins later in this post to make things easier for you.
So if you ever feel stuck or wish your website could do more, chances are, there’s a plugin for that. Just be selective and only install the ones you really need.
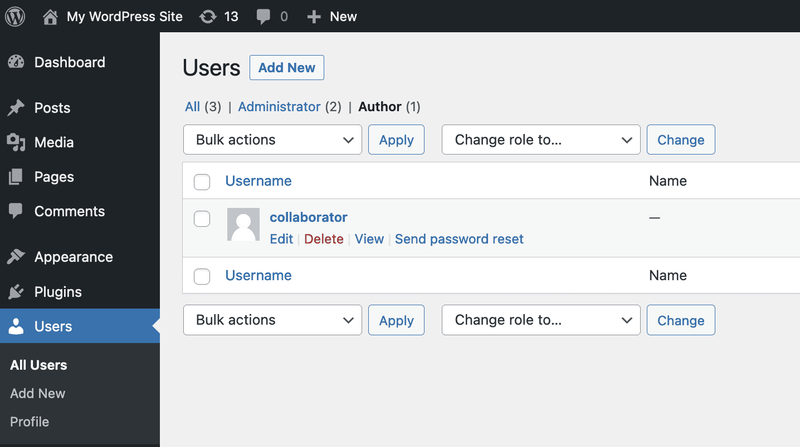
7. Users
When I started building my first WordPress site, I didn’t pay much attention to the “Users” tab in the dashboard, but over time, I realized just how important it is. This section helps me manage all the people who have access to my site.
From here, I can create new user accounts, assign different roles (like Editor, Author, or Subscriber), and even update my own profile details. It’s super handy when I’m working with a small team or giving someone temporary access to help out.
One thing I learned early on is that security really matters here. At first, I made the mistake of keeping my username as “admin” which, I later found out, makes it easier for hackers to break in. I quickly changed it to something more unique.
I also try to use strong passwords, at least 12 characters, mixing letters, numbers, and symbols. It’s a small step that makes a big difference in keeping the site safe.
To stay extra secure, I’ve set reminders to change passwords regularly, and I always recommend enabling two-factor authentication (2FA). I use the Wordfence plugin for this, it’s easy to set up and gives me peace of mind.
Managing users might seem like a small task, but it plays a big role in keeping my WordPress site safe and organized.
8. Tools
When I first explored the “Tools” section in WordPress, I didn’t think I’d use it much. But as I started working more on my website, I realized how useful these tools actually are.
One of the tools I often use is the Export tool. It lets me download my content—like posts, pages, and media—into a file. This is super helpful when I want to back up my site or move it somewhere else. I’ve used it a few times when setting up test sites or switching between hosting platforms.
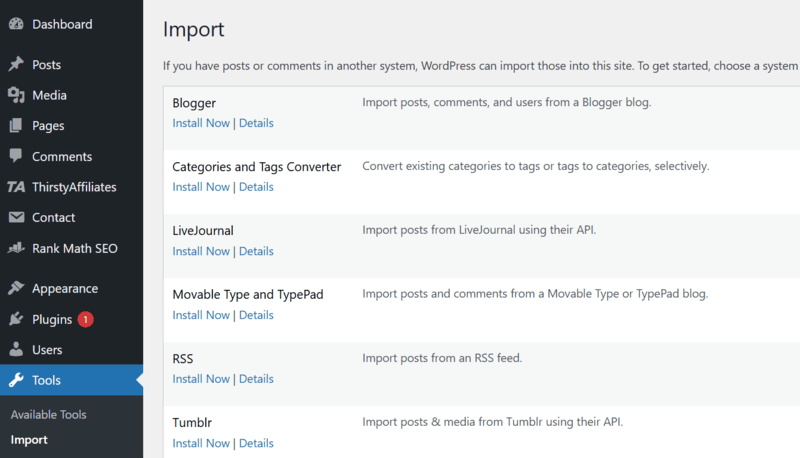
Then there’s the Import tool, which is the opposite of Export. I used it once when I was moving content from an old blog I had on Blogger.com. It saved me a ton of time because I didn’t have to copy-paste everything manually.
Another really helpful feature in this section is Site Health. I check it once in a while to make sure everything on my site is running smoothly. It tells me if there are any issues that might slow things down or cause problems later. I like that it gives suggestions too, so I know what to fix.
Overall, the Tools section might seem small, but I’ve found it super handy for managing the backend of my site and keeping things in good shape.
9. Settings
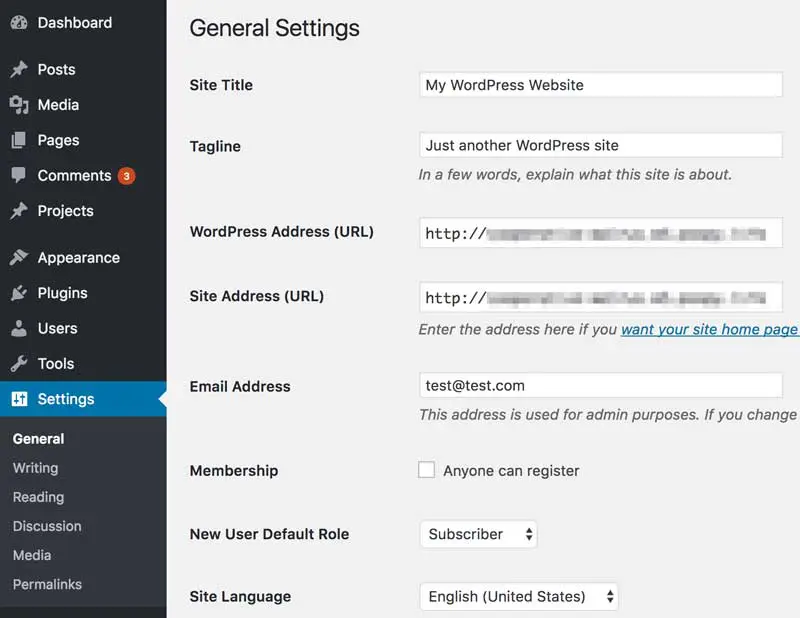
This is where I control how my website works, from the basic info to how it shows content to visitors.
In the General Settings, I added my site’s name, tagline, and URL. I also chose how I wanted the date and time to appear. It’s a small detail, but it helps everything look more professional.
Next is the Writing section. Here, I set a default post category, so I don’t have to choose one every time I publish something. There’s also a feature to post by email, but I personally don’t use that much.
In the Reading section, I decided what people should see when they visit my site—whether it’s my latest blog posts or a custom homepage. I also picked how many posts to show on each page, and adjusted the settings for RSS feeds.
Then comes the Discussion settings. This part helped me manage comments. I could choose whether to allow comments, how to moderate them, and even what kind of avatars to show for users. It gave me full control over how conversations happen on my blog.
In the Media settings, I changed the image sizes WordPress automatically creates when I upload pictures. It helped keep my site looking clean without huge image files slowing it down.
Permalinks are one of the most important settings I discovered. It controls how the URLs of my blog posts look. I switched to the “Post name” structure because it’s better for SEO and easier for visitors to read.
Lastly, there’s the Privacy section. I set up my site’s privacy policy here to make sure I follow legal guidelines and keep things transparent for my audience.
Wrapping Up – How to Use WordPress Admin Dashboard
I hope this guide has made WordPress feel a little less overwhelming if you’re just getting started.
Honestly, I remember feeling a bit lost when I first used WordPress, but once I spent some time playing around with it, I started to feel much more comfortable. It’s all about taking one step at a time, learning the basics, and practicing until it clicks.
If you’re like me and want to test out new themes or plugins before fully committing, I highly recommend trying tools like TasteWP. It’s a fantastic way to experiment with WordPress for free, so you can get a feel for how things work without any pressure.
And don’t let the interface scare you. WordPress might look complex at first, but trust me, it’s easy to get the hang of. Just give yourself some time to explore and enjoy the process.
If you ever need more support or want to dive deeper into your website, I found that services like WP Buffs can be super helpful. They offer 24/7 WordPress maintenance, from speeding up your site to handling any tech problems. It’s great if you need a helping hand with more advanced stuff.
So, keep exploring, and remember, the more you practice, the better you’ll get at managing your WordPress site.
Happy creating!